
How to Use the Nama M1 Plant-Based Milk Maker
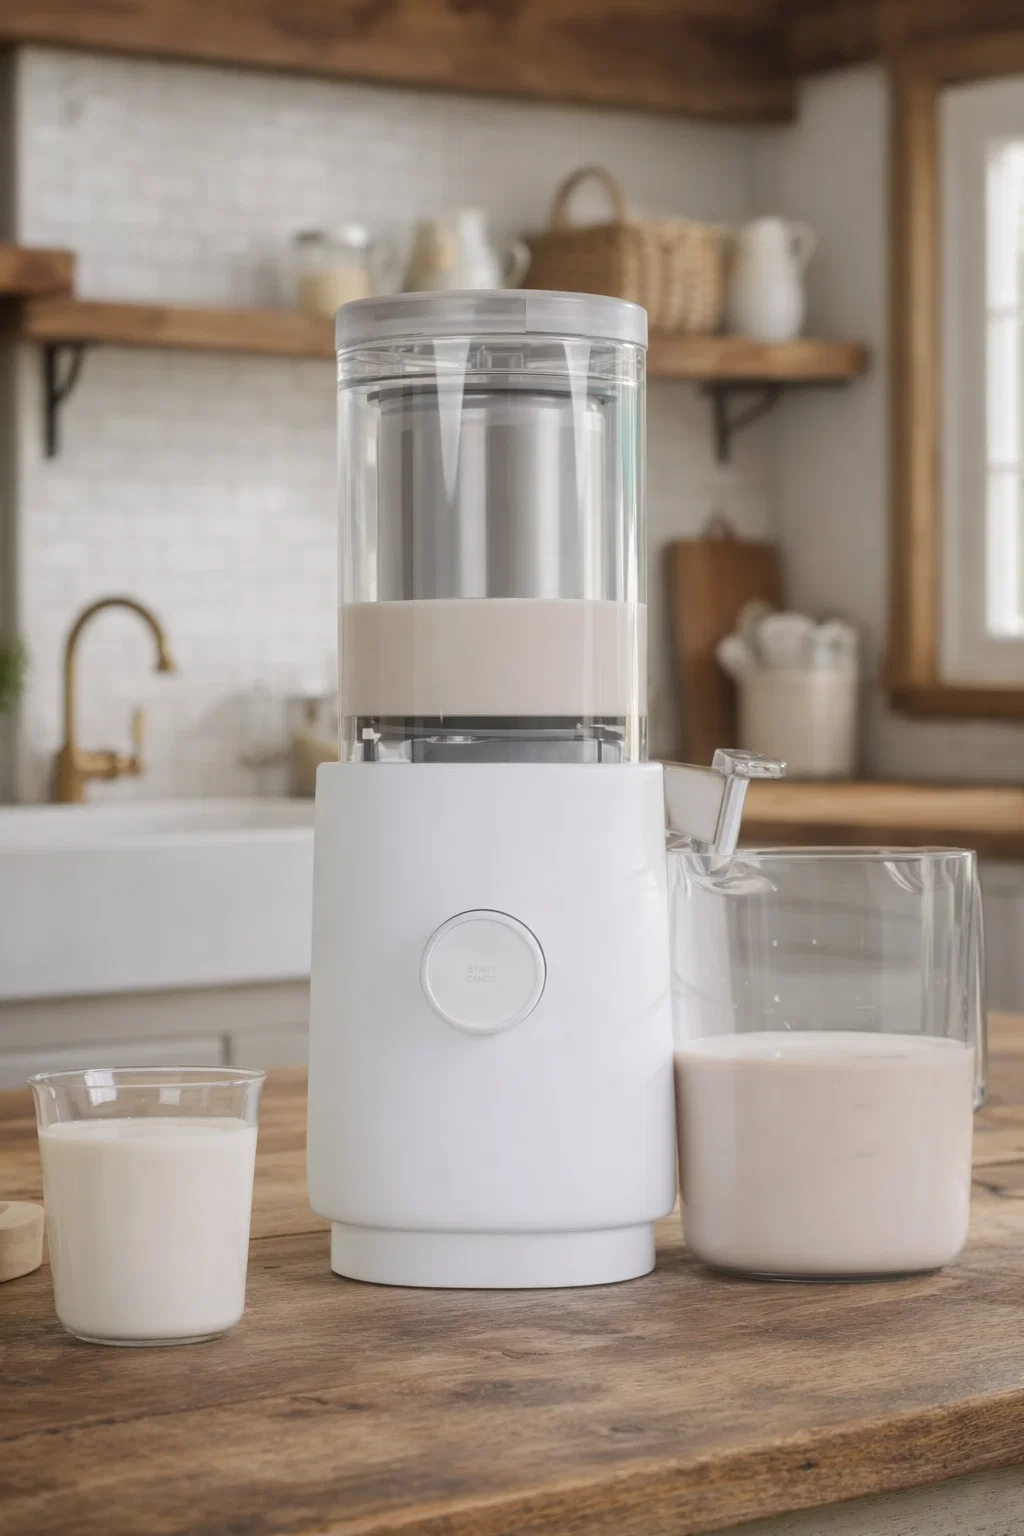
The Nama M1 plant-based milk maker is designed to make homemade plant-based milks quickly without soaking nuts or straining pulp. With a simple two-step process, the machine blends ingredients and spins them into smooth plant milk in minutes.
This guide shows how to use the Nama M1, what ingredients work best, and simple recipes you can try at home.
M1 Key Takeaways
- Makes smooth plant-based milks without straining
- Works with nuts, seeds, and grains
- Creates creamy barista-quality milk
- Compact machine built for the kitchen counter
- Backed by a 15 year warranty
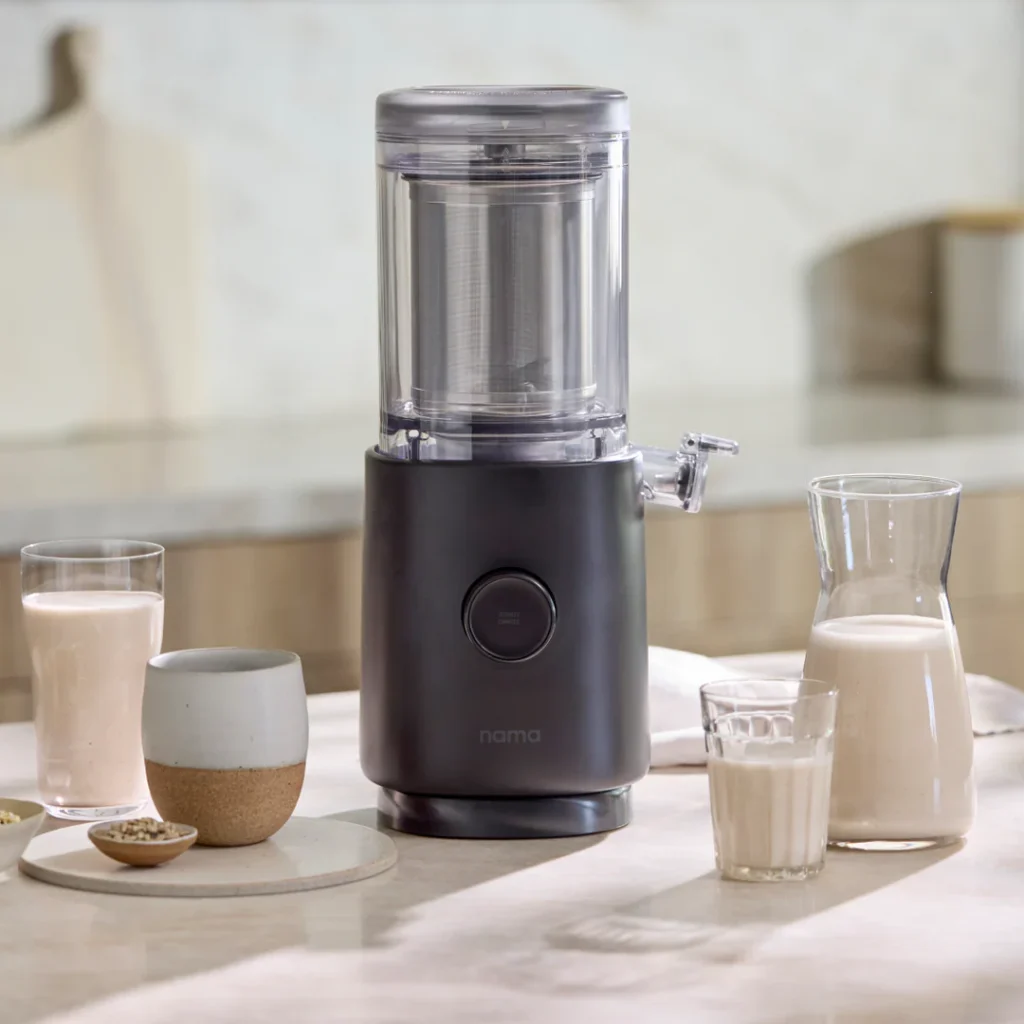
What the Nama M1 Plant-Based Milk Maker Does
Among modern milk makers, the Nama M1 plant-based milk maker stands out because it produces smooth plant-based milks without pulp. The machine blends ingredients and then spins the liquid through its internal filter to separate dry pulp automatically.
That process produces silky, barista-quality milk that works well for coffee, matcha, lattes, or everyday drinking.
Unlike many other milk makers, the M1 also includes a 15 year warranty, which is rare for kitchen appliances. The powerful motor and compact design are built to handle nuts, grains, and seeds while still fitting easily on the kitchen counter.
For anyone interested in homemade plant-based milks, the M1 simplifies the entire process.
Basics of the Nama M1 Milk Maker

Step 1: Add Ingredients
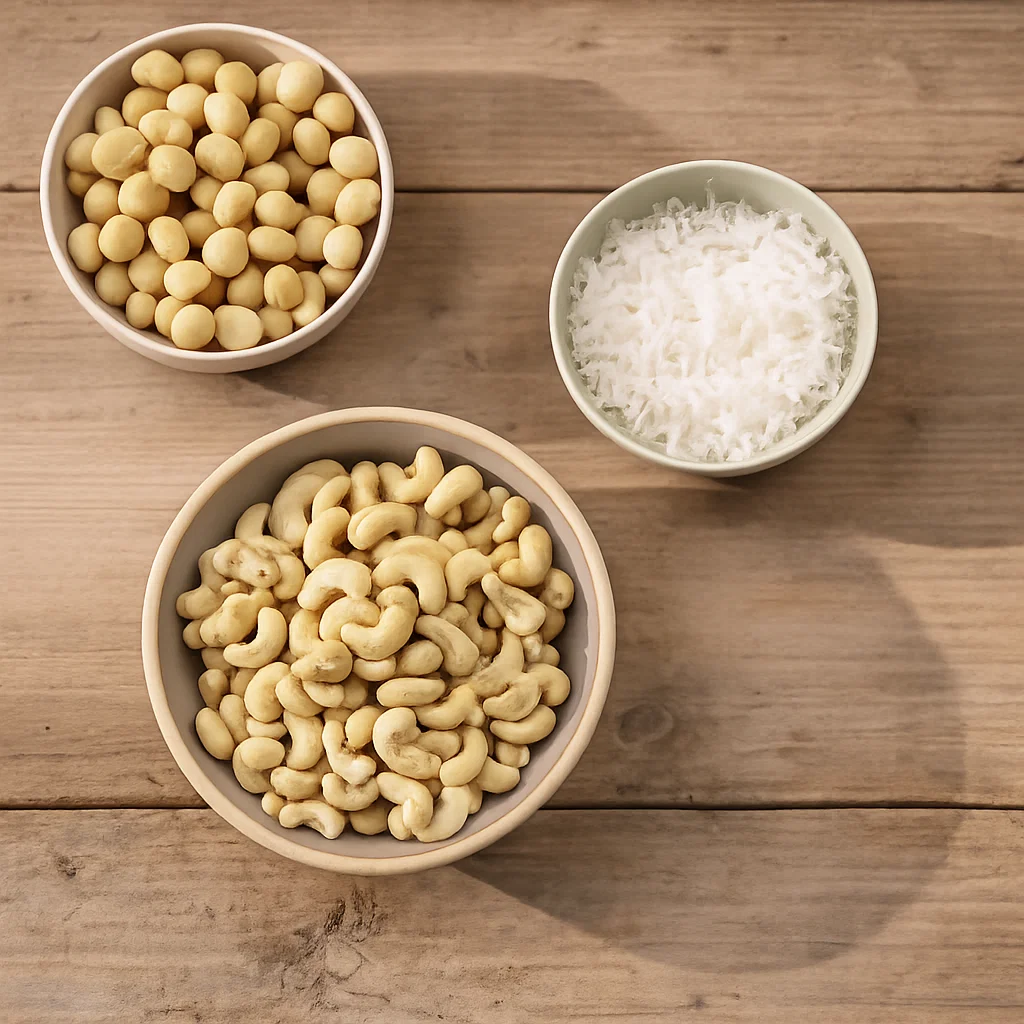
Add your base ingredient—such as macadamia, cashews, oats, coconut flakes, or pumpkin seeds (endless possibilities)—into the machine’s filter basket.
If you’d like sweeter milk, try adding a little honey, maple syrup, or dates.
For each recipe, use 1 cup of your preferred nut/seed base.
Step 2: Add Water
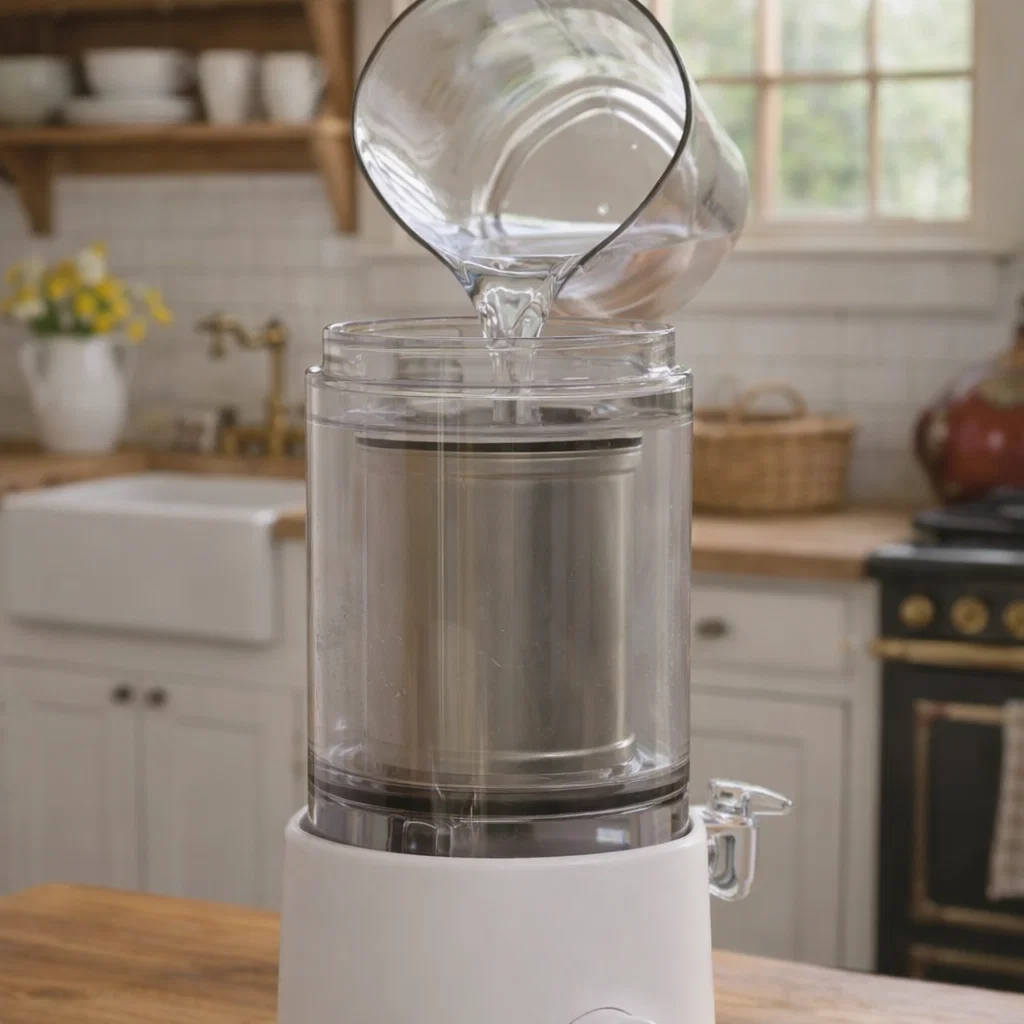
Fill the reservoir with water up to the recommended line depending on the recipe. The amount of water will determine how thick or thin the milk.
Like the milk watery? Use 4 cups of water.
Prefer it thick? Use 2-3 cups of water.
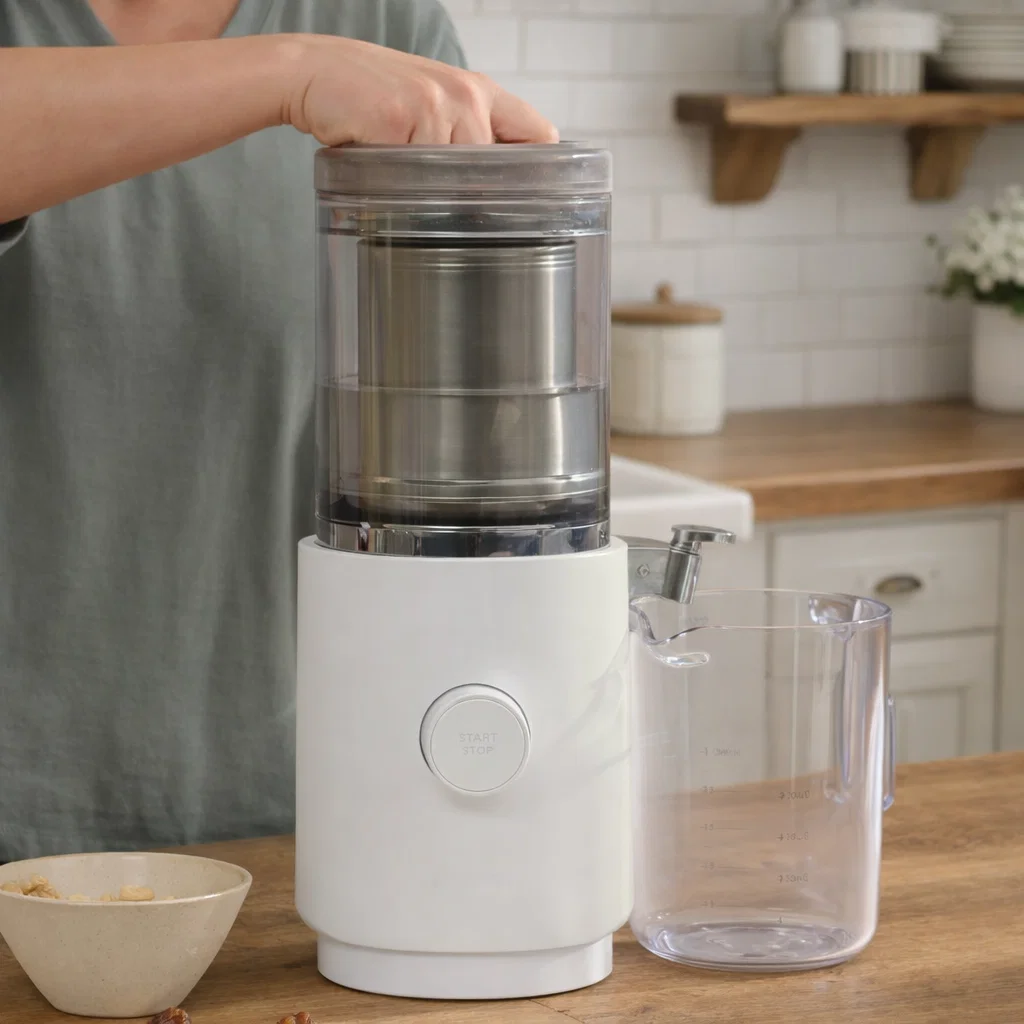
Step 3: Choose Your Blend Time
Close the lid by twisting it into place. By default, the M1 will display 1:00 on the timer. If you prefer less blending, use the control knob to turn down the time. The M1 automatically controls the blend and spin process.
Our preferred time to blend is 1 minute.
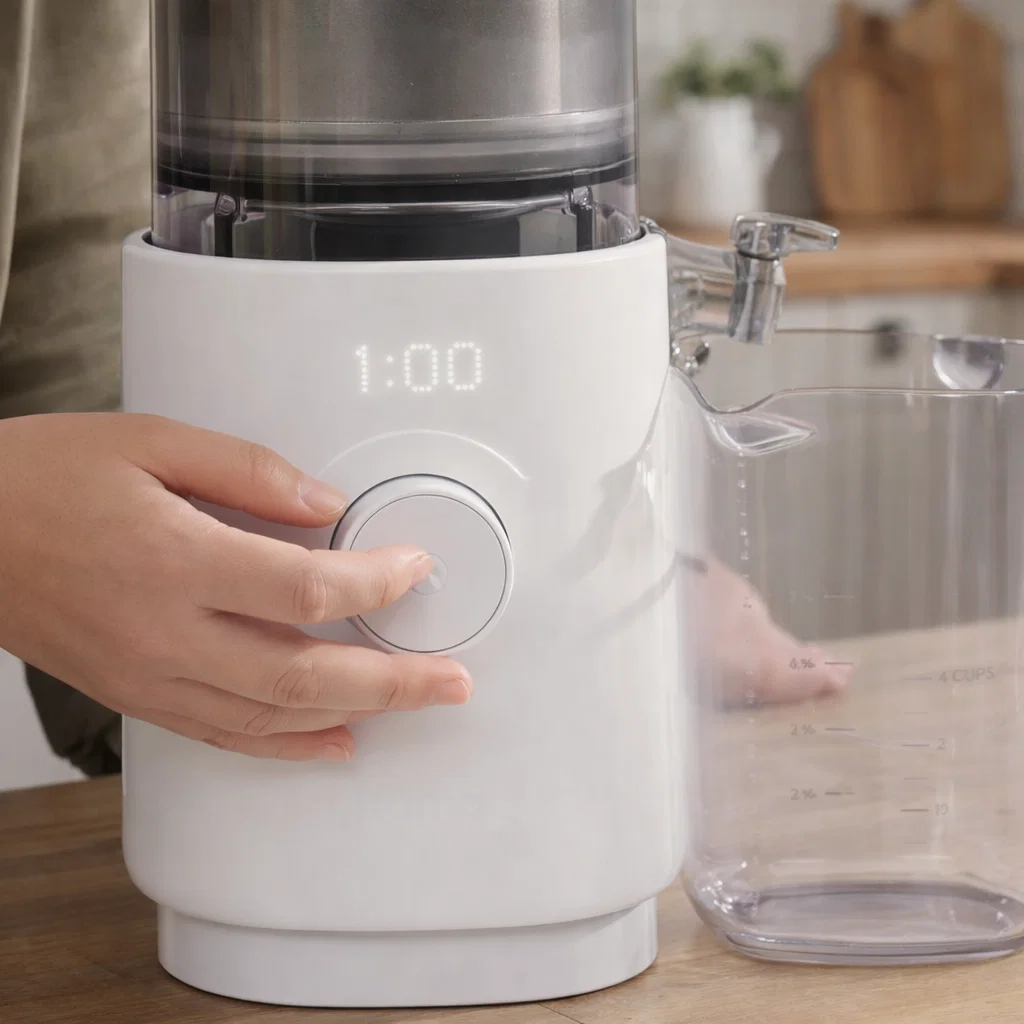
Step 4: Start the Machine
Press start and let the machine run its cycle. The motor blends ingredients into a liquid and separates the pulp.
The machine will tell you when it’s time to open the spout and release the milk into the pitcher.
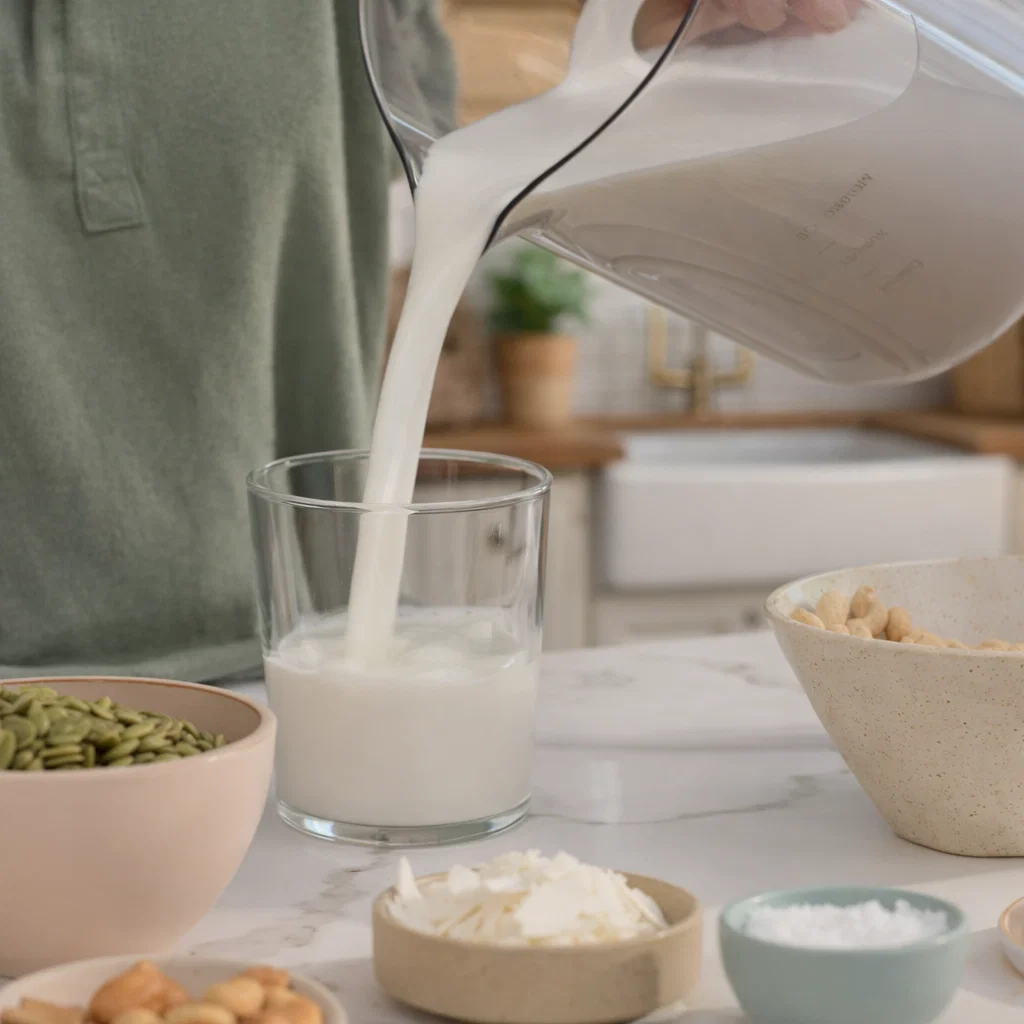
Step 5: Pour and Enjoy
When the cycle finishes, you’ll have fresh plant milk ready to drink or use in recipes.
The result is creamy, fresh milk without soaking, straining, or messy cleanup.
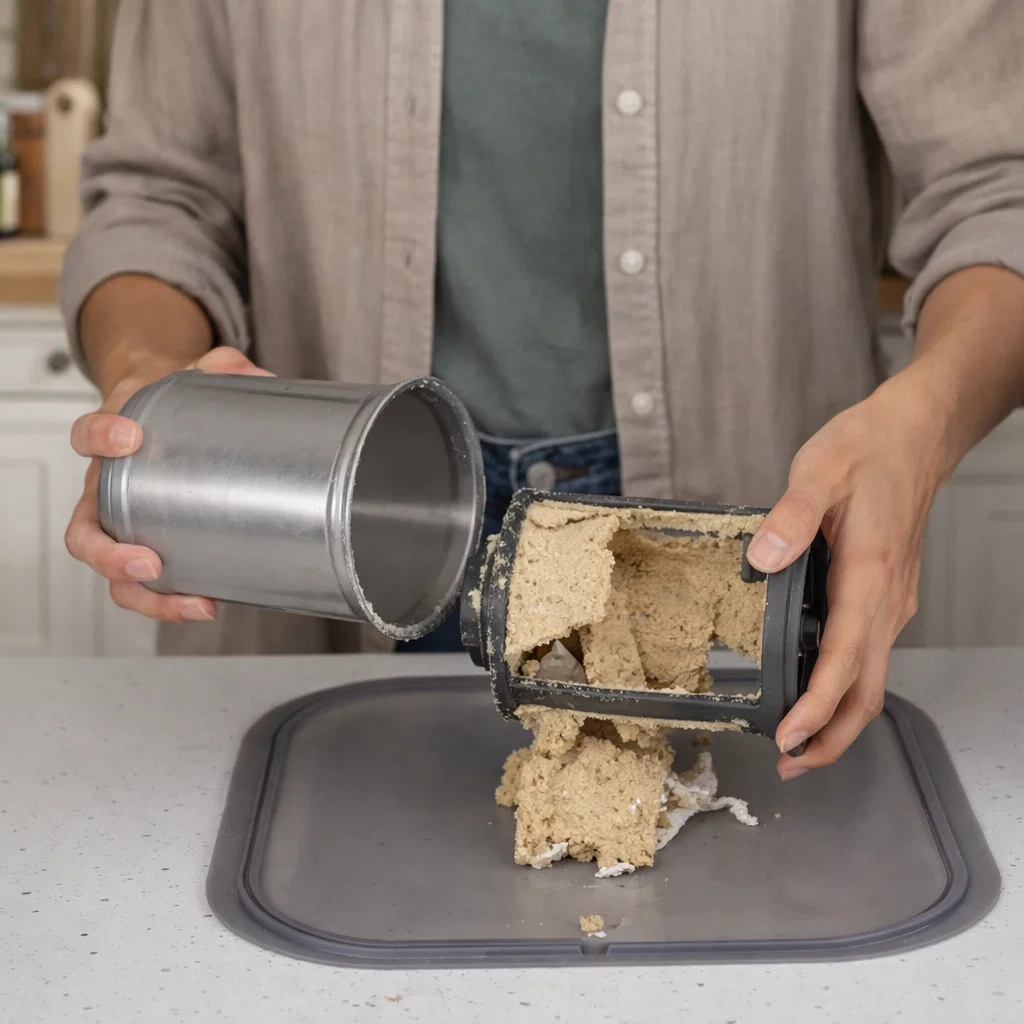
Step 6: Save Pulp for Future Recipe (optional)
After the cycle finishes, remove the filter basket and collect the dry pulp left behind. This pulp still contains fiber and nutrients from the original ingredient.
Instead of discarding it, many people reuse the pulp in other recipes. Almond or cashew pulp works well in granola, baked goods, smoothies, or oatmeal. Oat pulp can also be added to pancakes or muffins.
Saving the pulp helps reduce waste and lets you get more value from each batch of homemade plant-based milk.
Best Ingredients for Plant-Based Milks
The Nama M1 plant-based milk maker works with many ingredients, allowing you to experiment with different flavors and textures.
Popular bases include (for frothy and nutritious plant milk):
• Almonds for classic almond milk
• Oats for creamy oat milk
• Cashews for ultra-smooth milk
• Pumpkin seeds for a nutrient-dense option
• Grains such as rice or barley
Each ingredient produces slightly different texture and flavor, so experimenting helps you find your favorite homemade plant milk.
You can also add ingredients like vanilla, chocolate, matcha, or dates for flavored milks.
Recipes With the Nama M1
One of the biggest advantages of the Nama M1 milk maker is how many recipes you can make beyond basic milk. Check out our Nama M1 Recipes page for more simple nut/seed milk recipes.
- Almond milk recipe for smoothies and coffee
- Oat milk for barista-style lattes
- Cashew milk for creamy sauces
- Chocolate plant milk
- Matcha milk for iced drinks
The machine can also produce liquids used for soups, infused oils, and wellness shots, making it more versatile than most milk makers.
Many users also reuse the leftover dry pulp in recipes like granola, baked goods, or smoothies.
Cleaning the Nama M1
Cleaning the Nama M1 plant-based milk maker is quick and minimal.
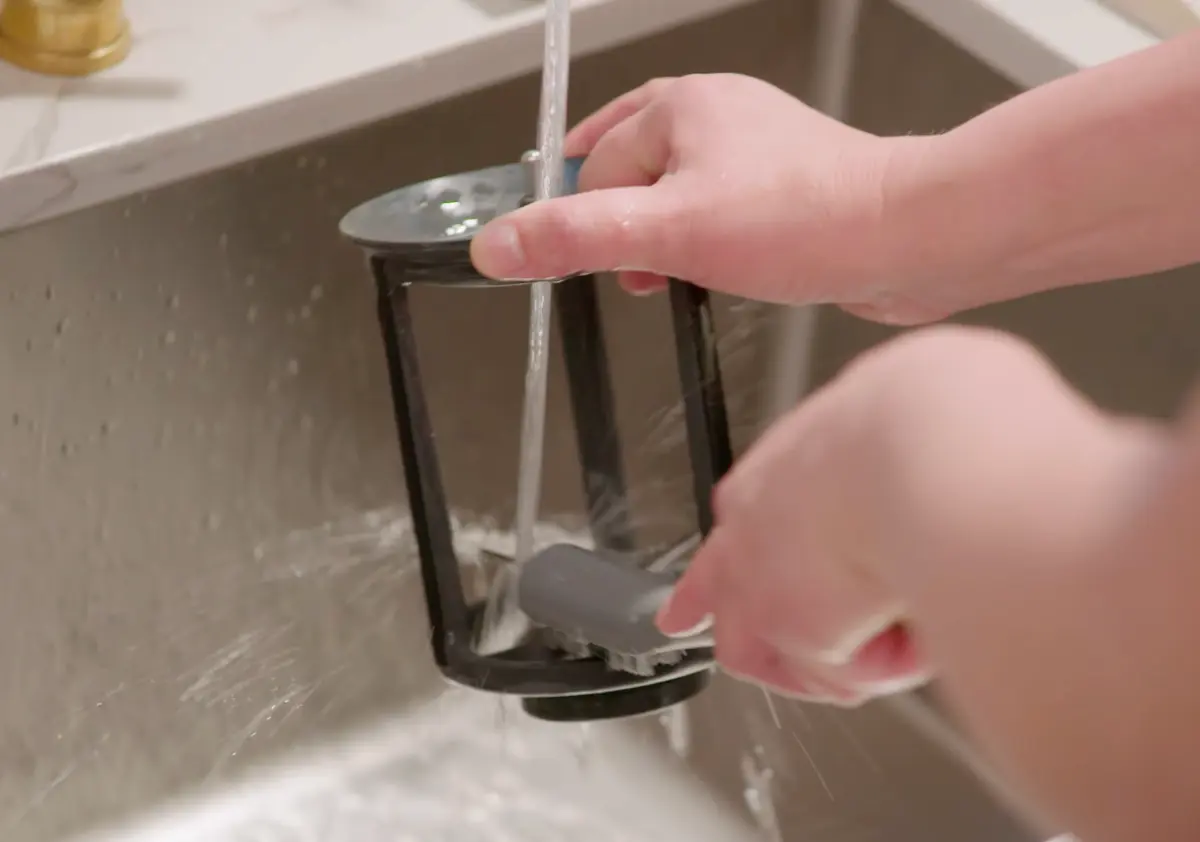
After making milk:
Remove the filter basket.
Rinse out the pulp (or save it in your dedicated M1 storage packet to later use).
Scrub the strainer with the included strainer brush under warm water.
Because the machine separates pulp during the spin process, cleanup is usually easier than traditional nut milk methods.
This makes it practical to create homemade plant-based milks regularly without a complicated cleanup routine.
Our Complete Nama M1 Review
If you still can’t decide whether the Nama M1 is the right choice, read our full Nama M1 milk maker review. We cover performance, milk texture, ease of use, and how it compares to other milk makers so you can decide if it’s the right machine for making homemade plant-based milks.
Nama M1 FAQs
Yes. The Nama M1 uses an intuitive control panel and automated cycles, making it easy to create plant milk even for beginners. With the M1 you can make homemade nut milk in 2 minutes!
Beyond almond milk and oat milk, the machine can make soups, flavored milks, wellness shots, and other liquid recipes.
No. The machine spins the blended mixture through an internal filter, leaving behind dry pulp and producing smooth milk.
Yes. The machine is built to last and backed by a 15 year warranty, which is uncommon among milk makers.
Nama M1 Coupon
If you’re considering a milk maker for homemade plant-based milks, the Nama M1 plant-based milk maker is one of the most advanced options available.
It produces smooth, barista-quality milk, separates pulp automatically, and is designed for daily use in the kitchen.
You can also check current pricing and available discounts before buying.