
How to Milk an Almond (And Actually Make It Worth Doing)

Homemade almond milk
The traditional method works. Here's how to do it — and why most people eventually stop.
Milking an almond is exactly what it sounds like: extracting creamy, fresh almond milk from raw almonds at home. The basic method has been around forever — soak, blend, strain. It works. But it has enough steps and enough cleanup that most people try it once, decide it is too much effort, and go back to buying cartons. This page covers the full traditional method step by step, the shortcuts that actually hold up, and a faster approach we switched to that removed most of the friction.
- Traditional method: soak overnight, blend, strain through a nut milk bag
- Faster method: no soaking, no bag, done in under 2 minutes
- Ratios, recipes, and tips for almond, oat, and cashew milk
- Common mistakes and how to fix them
What to Know Before You Start
The quick version of everything this page covers.
- The traditional blender method requires soaking almonds for 8 to 12 hours before use
- After blending, you strain through a nut milk bag — this step takes the most time and makes the most mess
- Standard ratio is 1 cup almonds to 3 to 4 cups water, adjusted to taste
- Fresh homemade almond milk lasts 3 to 5 days refrigerated in a sealed container
- Homemade tastes noticeably creamier than store-bought because there are no thinning agents or additives
- A dedicated milk maker skips the soaking and straining entirely — same result in under 2 minutes
- The same methods work for oat milk, cashew milk, coconut milk, and most other plant milks
The Traditional Method: How to Milk an Almond With a Blender
This is the method most recipes use. It produces great almond milk and does not require any special equipment beyond a blender and a nut milk bag. Here is how to do it properly.
What you need: 1 cup raw almonds, 3 to 4 cups filtered water (plus more for soaking), a high-speed blender, a nut milk bag or cheesecloth, a large bowl, and a jar or bottle to store the finished milk.

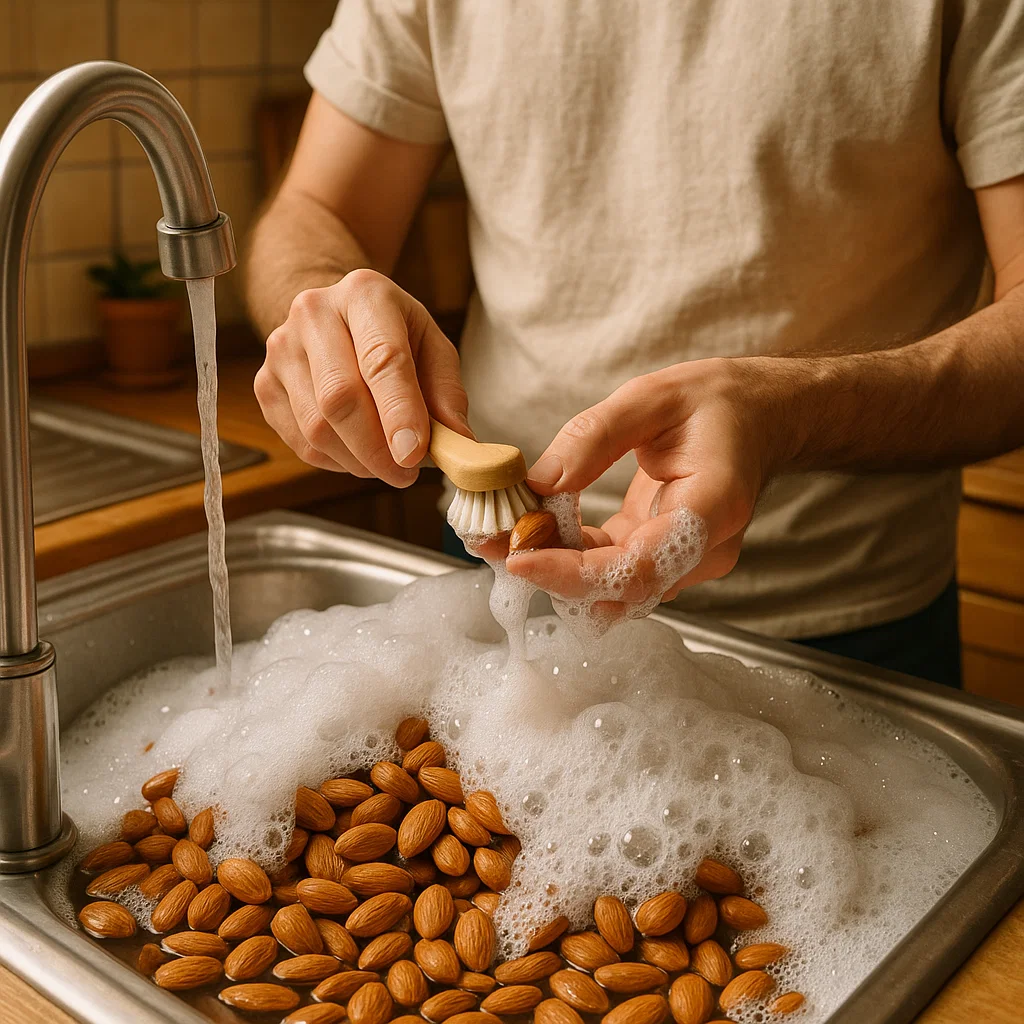
Almonds taking a bath
Step 1 — Soak the almonds. Add 1 cup of raw almonds to a bowl and cover with 2 to 3 cups of water. Let them soak for at least 8 hours, or overnight. Soaking softens the almonds, which makes them easier to blend and produces a creamier result. Do not skip this step with the blender method — unsoaked almonds will not blend as smoothly and the milk will be grainier.
Step 2 — Drain and rinse. Pour off the soaking water and rinse the almonds under cold water. The soaking water pulls out some of the tannins in the almond skin, so you do not want to use it in your milk.
Step 3 — Blend. Add the soaked almonds to your blender along with 3 to 4 cups of fresh filtered water. Blend on high for 60 to 90 seconds until the mixture looks uniformly white and frothy. If you want to add flavoring — vanilla extract, medjool dates, a pinch of salt, cinnamon — add them now and blend for another 15 seconds.
Step 4 — Strain. This is the step most people underestimate. Place your nut milk bag over a large bowl and pour the blended mixture into the bag. Gather the top of the bag and squeeze firmly, working the milk through the mesh and into the bowl. Keep squeezing until the pulp inside the bag is as dry as you can get it. The drier the pulp, the more milk you extracted.
Step 5 — Store. Pour the finished milk into a sealed jar or bottle and refrigerate. It will keep for 3 to 5 days. Give it a shake before each use — homemade almond milk separates naturally without stabilizers.
Yield: roughly 3 to 4 cups of almond milk per batch, depending on how thoroughly you squeeze.
Tips for Better Almond Milk
A few things that make a real difference in the final result.
Use raw, unsalted almonds. Roasted almonds produce a darker, slightly bitter milk. Salted almonds throw off the flavor entirely. Raw is the right starting point.
Filtered water matters more than you think. Tap water with a strong mineral taste will come through in the finished milk. If your tap water tastes off, use filtered.
Less water makes creamier milk. The 1:3 ratio (1 cup almonds to 3 cups water) produces a richer milk. The 1:4 ratio is closer to the consistency of store-bought. Start at 1:3 and adjust from there.
Sweeten after straining, not before. If you add dates or sweetener before blending, strain as normal — the sweetness will carry through with the milk. But if you are unsure how sweet you want it, taste after straining and adjust.
Do not throw away the pulp. Almond pulp from a good strain is fairly dry and works well in baked goods — cookies, energy balls, banana bread. Spread it on a baking sheet and dry it in a low oven if you want to store it longer.
The nut milk bag is the messiest part. Squeezing a bag of wet almond paste is not the most enjoyable step. Rinse the bag immediately after use or it gets harder to clean.
Common Problems and How to Fix Them
My milk came out watery. You either used too much water, did not soak the almonds long enough, or did not squeeze the bag thoroughly enough. Try a 1:3 ratio next time and soak for the full 8 to 12 hours.
My milk is gritty or grainy. Your blender did not run long enough, or the almonds were not soaked. Blend for the full 60 to 90 seconds and make sure the mixture looks fully emulsified before straining. A higher-powered blender also makes a noticeable difference here.
My milk separated really fast. This is normal — homemade almond milk has no stabilizers, so it separates as it sits. Just shake the jar before each use. If it separates within minutes rather than hours, the fat content may be uneven from incomplete blending.

My milk tastes bitter. This usually comes from the almond skins. Blanching the almonds before soaking (briefly boiling them and slipping off the skins) produces a milder, sweeter milk. It is extra work but worth it if bitterness is an issue for you.
My nut milk bag keeps tearing. They wear out faster than you expect. A fine mesh bag holds up better than cheesecloth over repeated use. Rinse it right after use and let it air dry.
The Faster Way: Milking Almonds With a Dedicated Milk Maker
We used the blender method for a while. It works and the milk is genuinely good. But the soaking step means you have to plan ahead — forget to soak overnight and you are waiting until tomorrow. The straining step is messy. Rinsing the nut milk bag after squeezing wet almond paste is nobody’s favorite part of the morning.
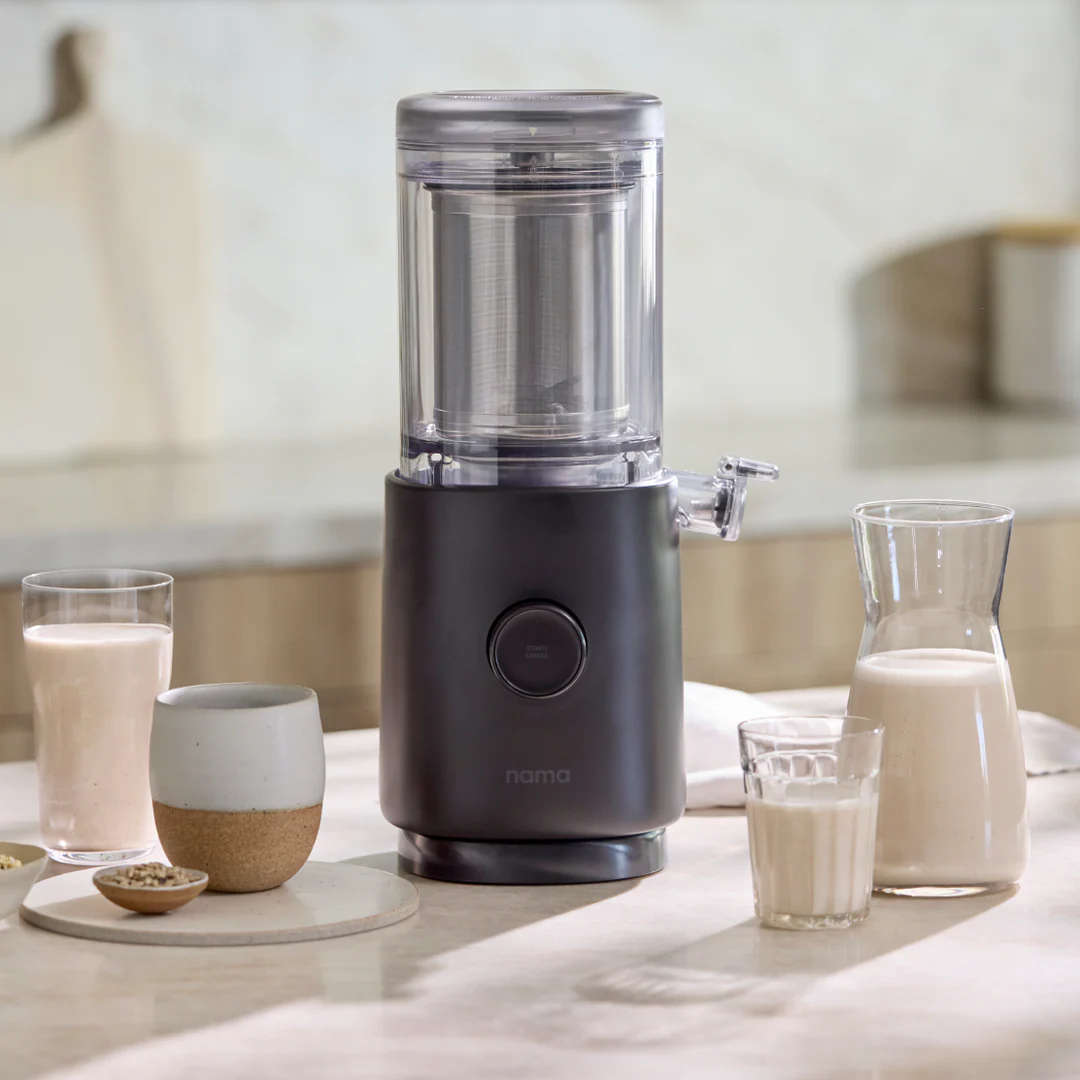
Eventually we switched to the Nama M1, which is a dedicated plant milk maker. The difference in the process is significant.
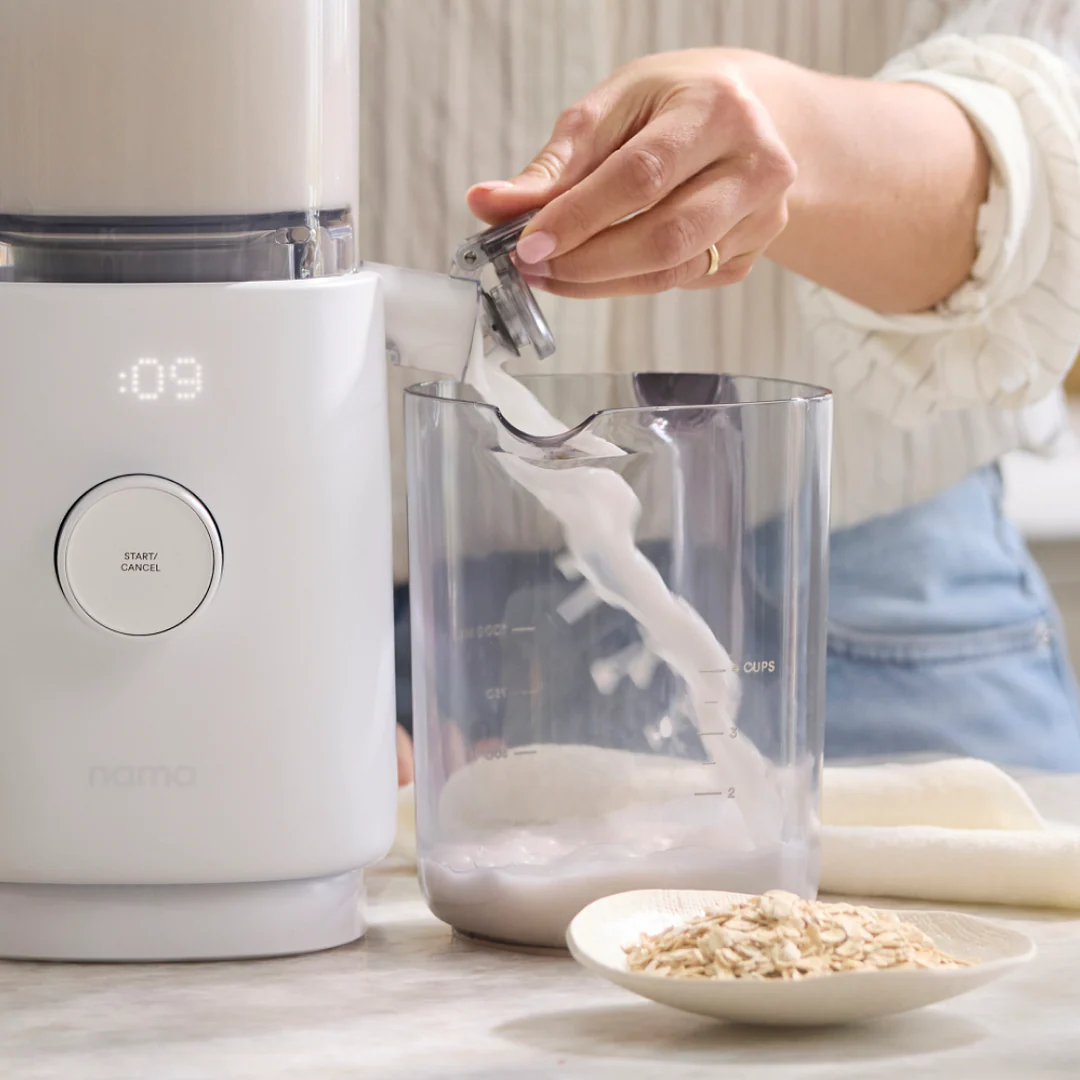
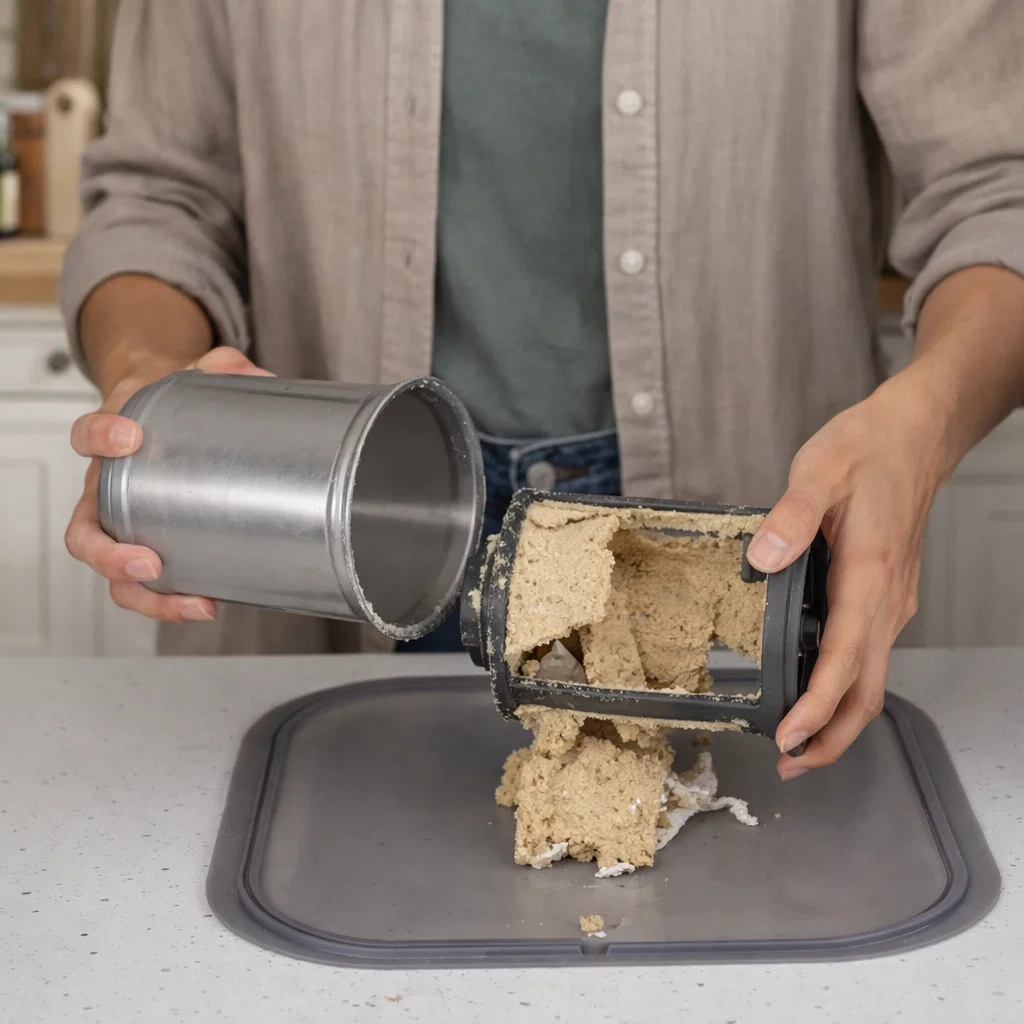
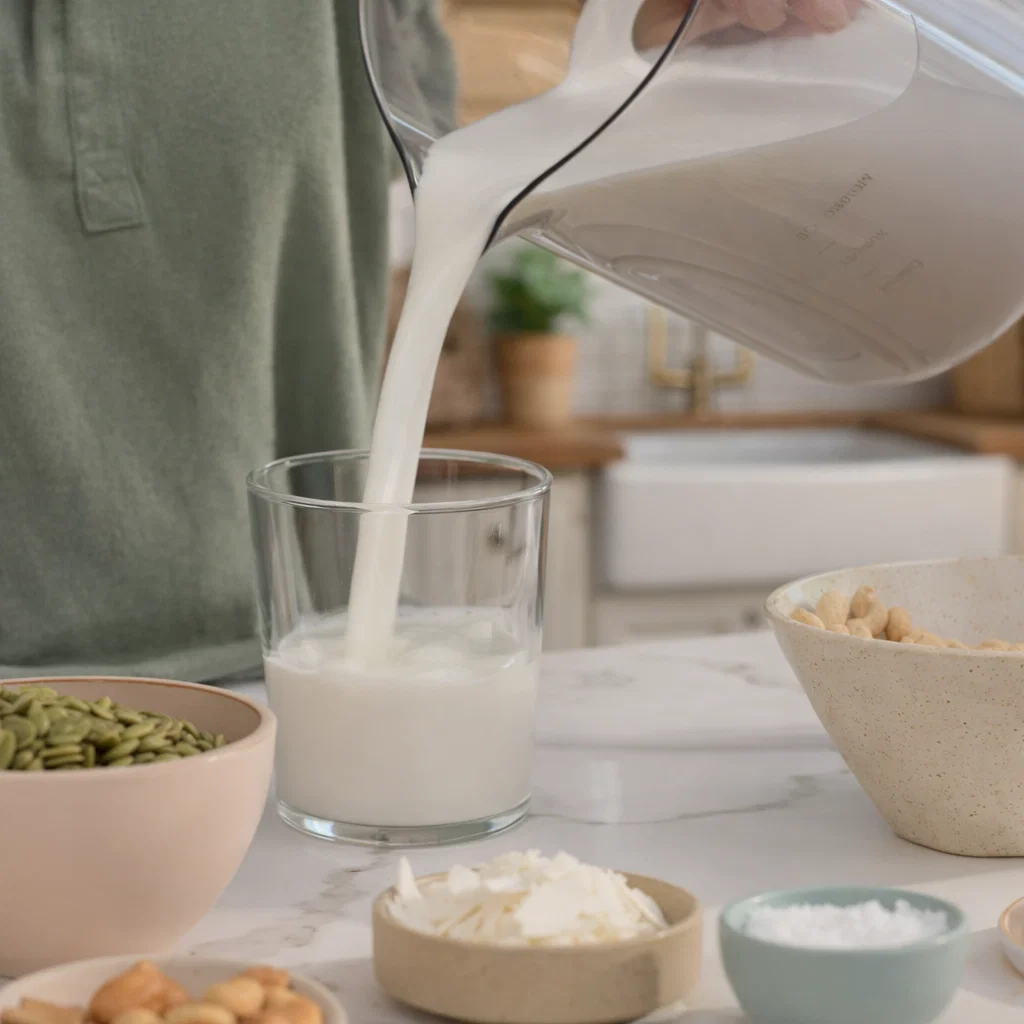
How it works: add raw dry almonds and water to the chamber, close the lid, press the button. A high-speed blade and built-in filter system blend and strain at the same time. Two minutes later, fresh almond milk comes out the spout and dry pulp stays in the chamber. No soaking required. No nut milk bag. No squeezing.
The output is consistently smooth — smoother than what most blenders produce even with soaked almonds, because the M1’s filter is finer than a standard nut milk bag. Cleanup is rinsing the chamber and filter at the sink, which takes about two minutes.
The practical effect is that we make almond milk several times a week now instead of occasionally. When the process is that quick, there is no reason to default to the carton.
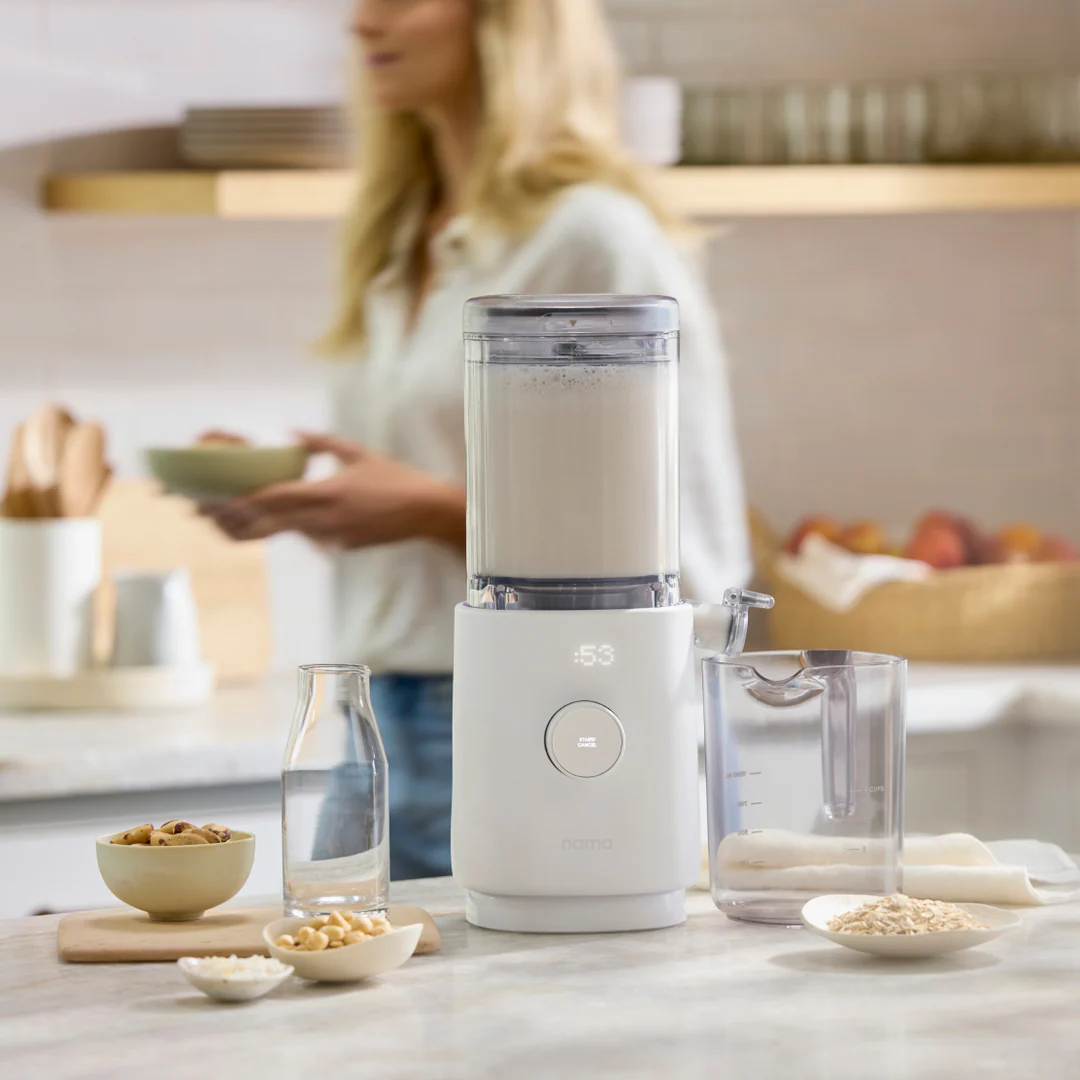
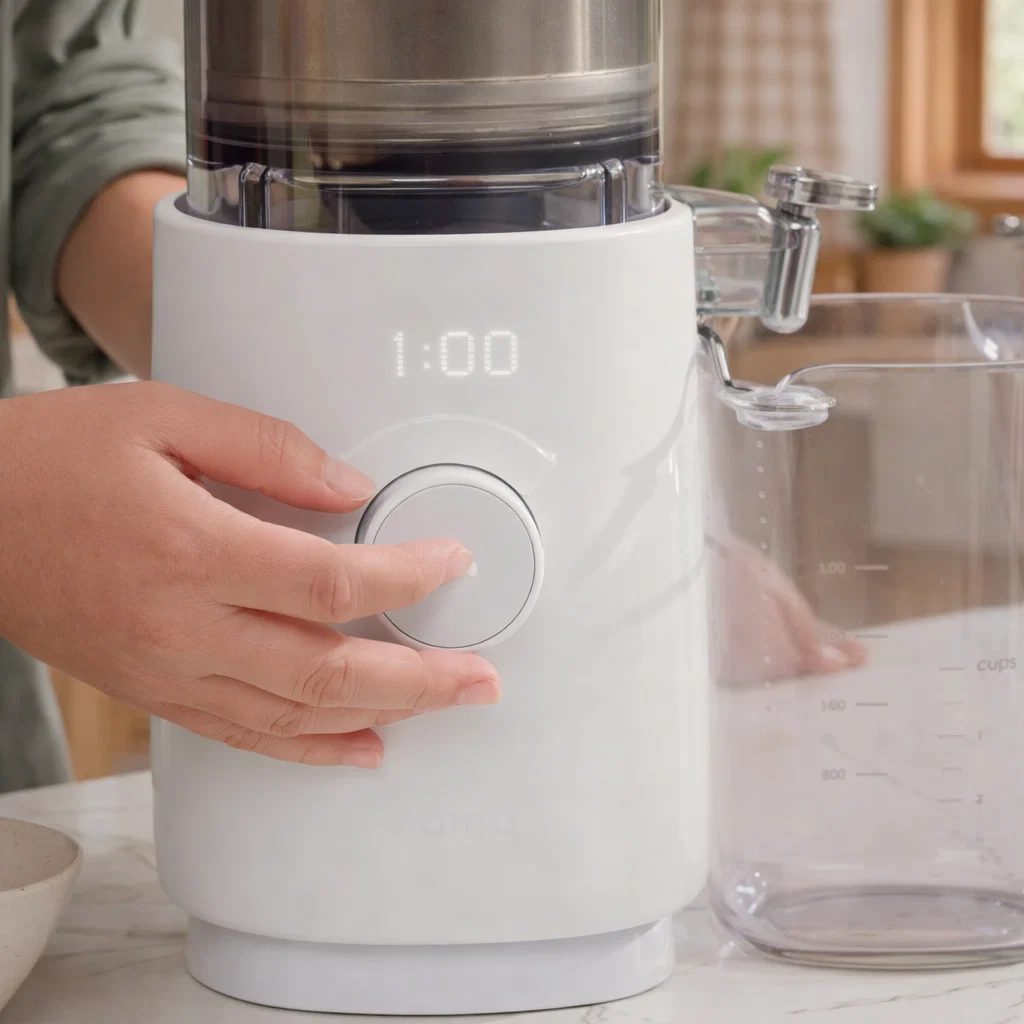
Making Almond Milk With the Nama M1
The M1 has been sitting on our counter for months now and it gets used almost every day. Almond milk for coffee in the morning, oat milk for cereal, cashew milk when we want something richer for cooking. The machine handles all of it the same way — add ingredients, press the button, done.
What surprises most people when they first use it is how dry the pulp comes out. With the blender method, the pulp is wet and kind of messy. The M1 pulp is dry enough that you can actually use it in baking without having to dry it out first.
Almond Milk Ratios and Simple Recipes
These ratios work for both the blender method and the M1. Adjust to taste after your first batch.
Basic Almond Milk: 1 cup raw almonds, 3 cups filtered water. Blend and strain. That is the base — everything else is optional flavoring.
Sweetened Vanilla Almond Milk: 1 cup raw almonds, 3 cups filtered water, 2 medjool dates (pitted), 1 tsp vanilla extract, pinch of salt. This is the one we make most often. It is close to what you would find in a good cafe latte.
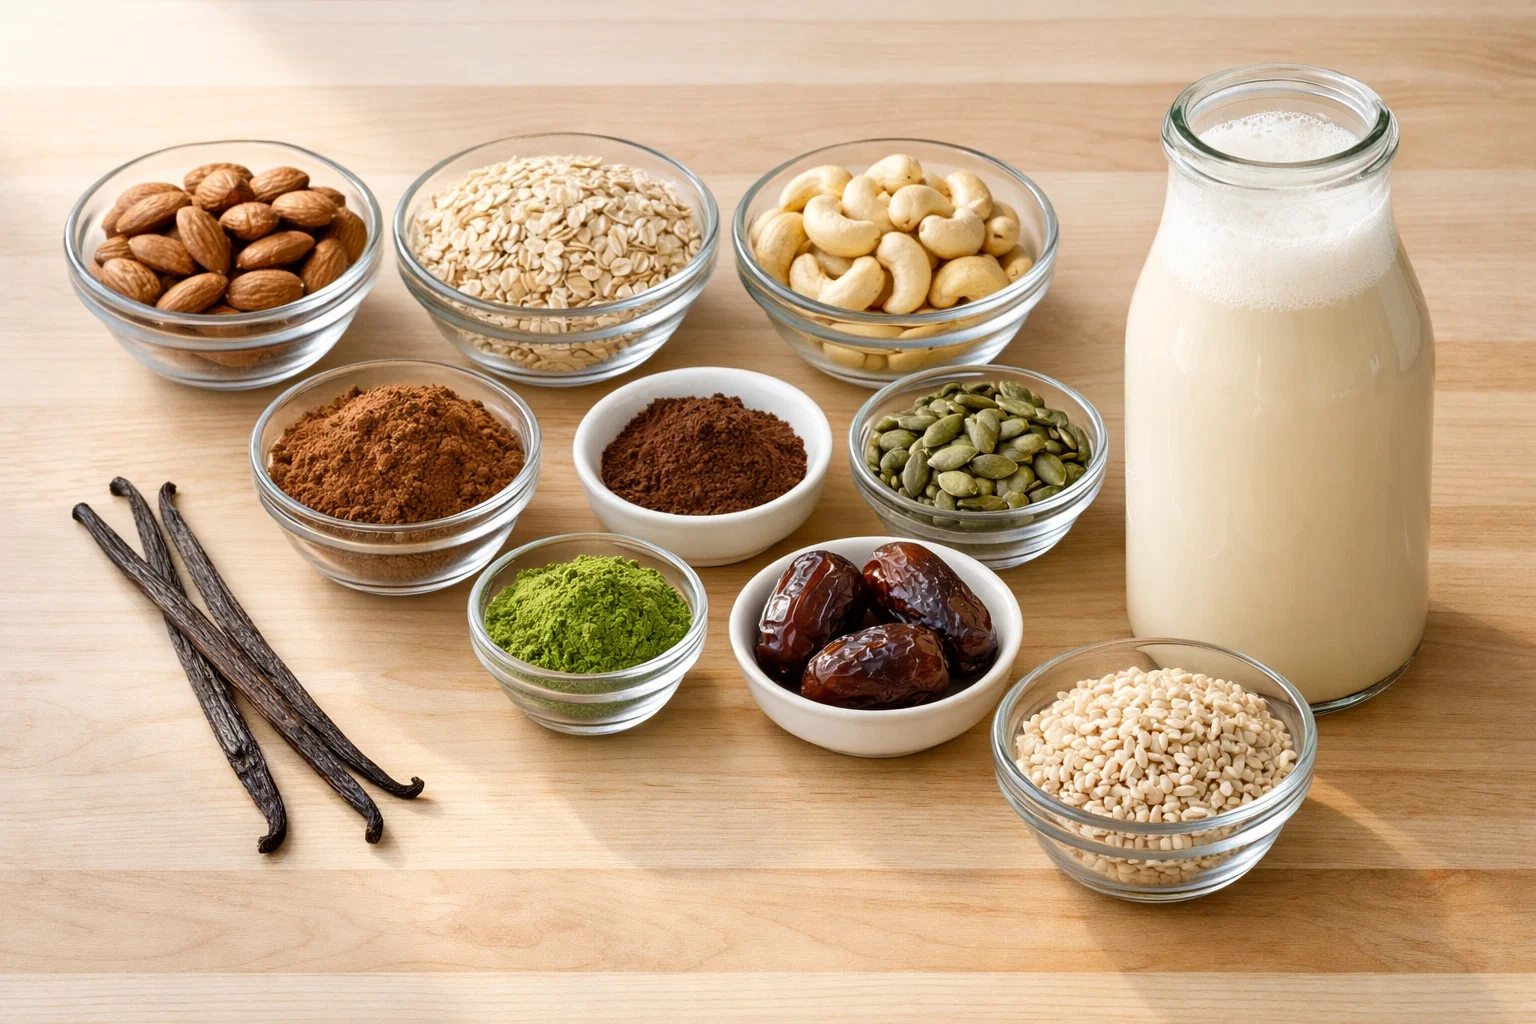
Cashew Milk (no straining required with a blender): 1 cup raw cashews, 4 cups filtered water, 1 tsp vanilla, pinch of salt. Cashews blend so smoothly that most blenders do not need a straining step. The M1 still runs it through the filter, which makes it even smoother.
Oat Milk: 1 cup rolled oats, 3 cups cold filtered water, 1 tsp vanilla, 2 medjool dates, pinch of salt. Important — use cold water and do not over-blend or it gets slimy. 30 to 45 seconds in the blender is enough. The M1 handles this automatically.
Coconut Milk: 1 cup unsweetened shredded coconut, 4 cups filtered water, 2 medjool dates, 1 tsp vanilla. Works better in the M1 than in most blenders because the coconut shreds need a finer grind to extract the fat properly.
Save on the Nama M1 Milk Maker
If you want to skip the soaking and straining entirely, use code JOHNSONSM1 at checkout on namawell.com for the best available discount on the M1. This code is specific to the M1 and gives you better savings than the general JOHNSONS code on this machine. Does not apply on Amazon.
Milking an Almond: Frequently Asked Questions
If you are using a blender, yes — soaking for 8 to 12 hours softens the almonds and produces a smoother, creamier result. Unsoaked almonds can work in a high-powered blender but the texture is usually grainier. If you are using a dedicated milk maker like the Nama M1, soaking is not required.
With a blender, yes. The blender cannot filter out the almond pulp on its own, so you need a nut milk bag or cheesecloth to strain the milk after blending. Some machines like the Nama M1 have a built-in filter that handles this automatically, so no bag is needed.
3 to 5 days in a sealed container in the refrigerator. It separates as it sits, which is normal — just shake before use. It does not last as long as store-bought because there are no stabilizers or preservatives.
Store-bought almond milk is often heavily diluted and contains gums, oils, and stabilizers to extend shelf life and improve texture artificially. Homemade is just almonds and water, so the flavor is cleaner and the texture is naturally creamier at the same almond-to-water ratio.
Yes, though it is less efficient. A food processor works but often leaves a grainier texture. A dedicated milk maker like the Nama M1 is the best no-blender option — it is faster than a blender, requires no soaking, and produces a smoother result.
Almond pulp from a good strain is fairly dry and works well in baked goods — cookies, energy balls, banana bread, granola. If it is still wet, spread it on a baking sheet and dry it in a low oven (around 200 degrees) for an hour or two. Store dried pulp in the freezer if you are not using it right away.
Yes. Cashews, macadamia nuts, pecans, and walnuts all work with the same basic method. Cashews are actually easier because they blend so smoothly that straining is optional. Oats, hemp seeds, coconut, and pumpkin seeds also work well using the same process.
Which Method Is Right for You
If you already have a good blender and do not mind planning ahead, the traditional method is completely solid. The milk is great, the process is not complicated once you have done it a few times, and the only real cost is a nut milk bag.
If you find yourself forgetting to soak overnight, skipping the nut milk bag step, or just defaulting back to the carton because it is easier… the M1 is worth looking at. Removing the soaking and straining steps is what finally made daily plant milk realistic for us.
Either way, homemade almond milk is noticeably better than what comes in a carton. Worth making at least once to see the difference.