


This website is a reader-supported site. Purchases made through links may earn a commission. Read our disclosure to learn more.
To assemble the juicer correctly, start by setting the base on a flat, clean surface with full counter access. Make sure the power switch is off before you begin.
Do not assemble while not on the base. The Nama J2 is designed to lock only when everything is aligned properly, and assembling off the base is a common mistake that causes unlocking issues later.
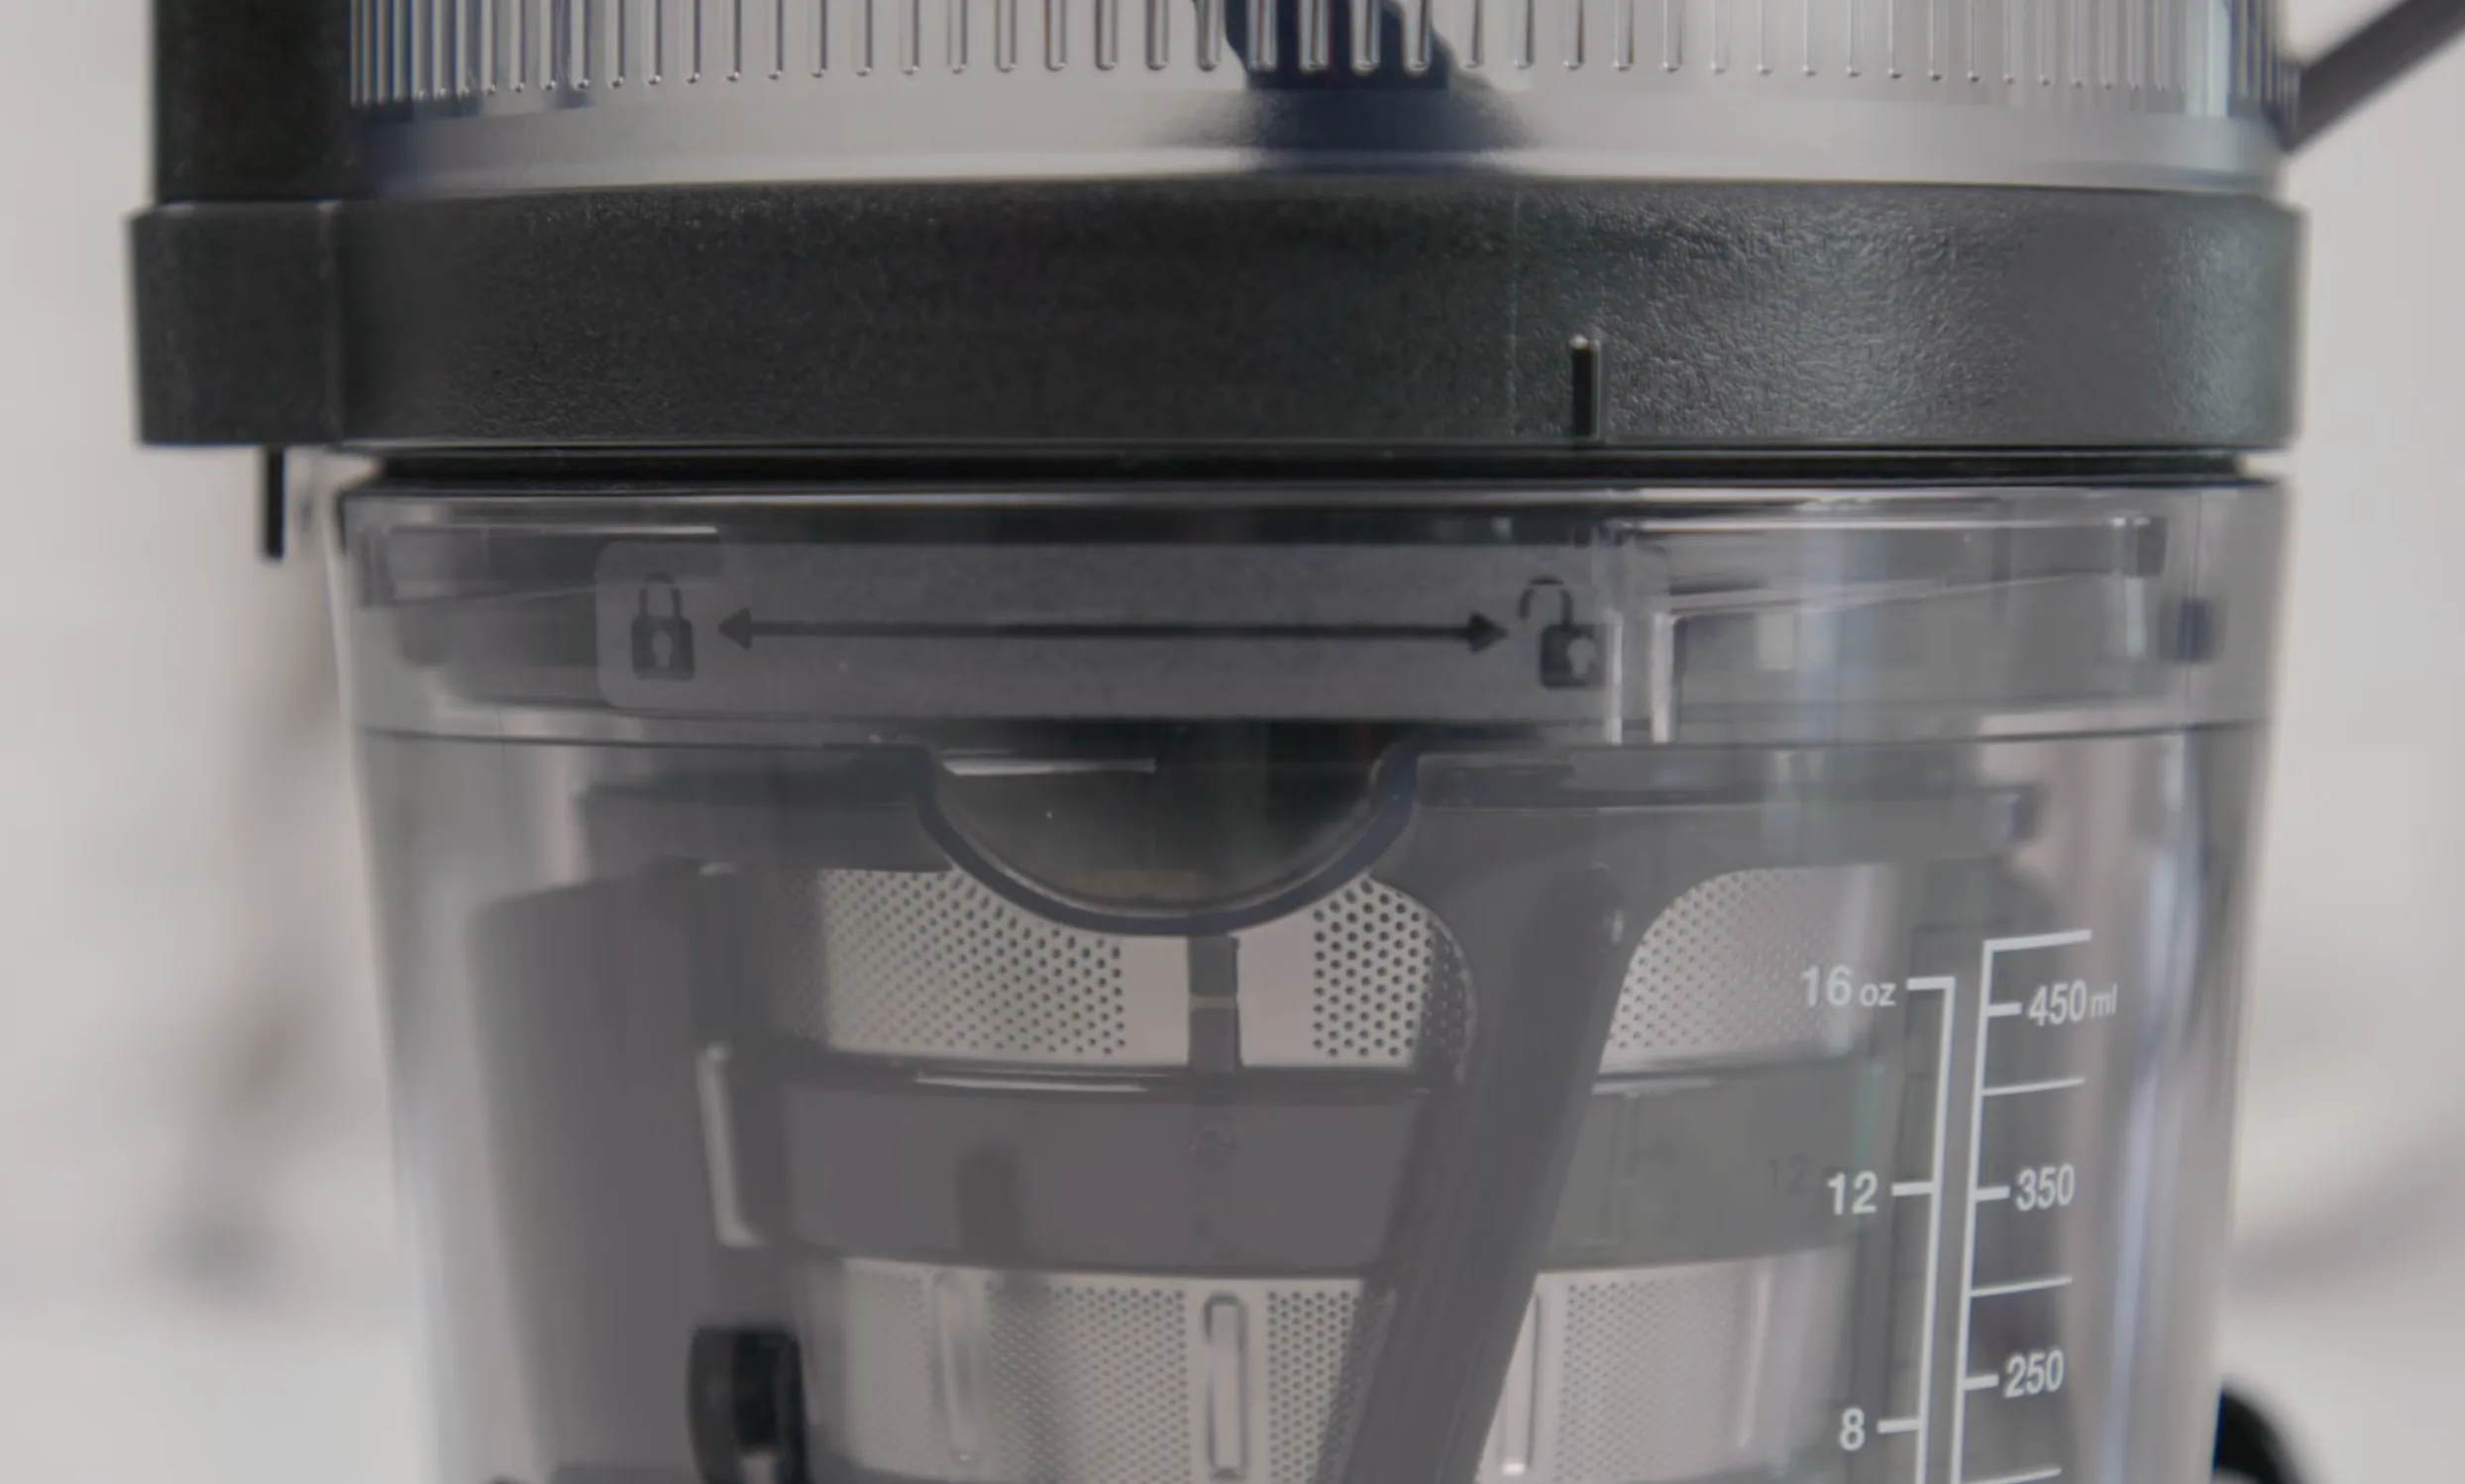
Next, place the juicer bowl onto the base and gently turn it until it lines up and sits flush. When placing the strainer, lower it straight down into the bowl so the bottom tabs line up correctly. It should sit evenly without forcing it.
Add the auger, then set the hopper on top. Rotate the hopper until it locks into position. If it doesn’t lock, something below isn’t seated correctly—don’t force it.
Assembly Tips, Video Help, and Common Mistakes
Before you watch a full video guide, do a quick prep check: all parts should be clean and dry. Slippery or wet parts can prevent proper assembly.
A helpful tip is to layer parts slowly and deliberately—bowl first, strainer second, auger third, hopper last. This order prevents misalignment.
If you have trouble unlocking and removing parts after use, it usually means the strainer wasn’t seated evenly. Always clean the juicer before disassembly to reduce suction and resistance.
If the unit still won’t lock or unlock properly after re-assembly, stop and contact service support before running the juicer again.

Want a Nama J2 Juicer?
Check out our complete review of the Nama J2 Juicer here.